High and low temperature test chamber inspection and operation test plan
1. Main Test Instruments and Devices: 1.1 Anemometer: A device capable of measuring air velocity with an accuracy of at least 0.05 m/s. 1.2 Thermometer: A temperature measurement system that includes a platinum resistance, thermocouple, or similar sensor. It must meet the following specifications: a sensor time constant between 20 to 40 seconds, and an expanded uncertainty (K=2) of no more than 0.4 °C. 1.3 Surface Thermometer: A system using platinum resistance or other similar sensors, with a sensor time constant of 20 to 40 seconds and an extended uncertainty (K=2) not exceeding 1.0 °C. 2. Test Conditions: 2.1 The test should be conducted under no-load conditions. 2.2 During the cooling rate test, the ambient temperature should not exceed 25 °C, and the cold power temperature should remain below 30 °C. 3. Temperature Test Method: 3.1 Location and Number of Test Points: 3.1.1 In the test chamber, define three horizontal layers: upper, middle, and lower. The upper layer is located 1/10 of the chamber height from the top, the middle layer passes through the geometric center, and the lower layer is 10 mm above the lowest sample holder. 3.1.2 Test points are placed on three surfaces. The central point is at the geometric center of the chamber. Other test points are positioned at a distance of 1/10 of each side's length from the walls. For chambers with a volume less than 1 cubic meter, the distance should be at least 50 mm. 3.1.3 The number of test points depends on the chamber size: up to 2 cubic meters requires 9 points, over 2 cubic meters requires 15 points, and for chambers larger than 50 cubic meters, additional points may be added as needed. 4. Test Procedure: 4.1 Select the highest and lowest nominal temperatures within the chamber's adjustable range. 4.2 Operate the chamber according to the low and high temperature programs. Once the center temperature reaches the set point and stabilizes for 2 hours, record the temperature at all test points every minute for 30 minutes, totaling 30 readings. 5. Data Processing and Test Results: 5.1 Correct the measured temperatures using the calibration values of the instruments. 5.2 Remove any questionable data. 5.3 Calculate the average temperature for each point based on the 30 measurements taken during the stable phase. 5.4 Determine the temperature gradient by subtracting the minimum average temperature from the maximum average temperature. 5.5 Calculate temperature fluctuations and deviations. 5.6 Ensure that the difference between the control meter's set value and the central test value is within the allowable tolerance. 6. Test Method for Temperature Difference Between Working Chamber Wall and Working Space: 6.1 Placement and Number of Test Points: 6.1.1 Place a temperature sensor in the geometric center of the working space and a surface sensor in the center of each inner wall of the six sides of the chamber. 6.1.2 If there is a hole or device in the center of the chamber wall, ensure the test point is at least 100 mm away from it. 6.2 Test Procedure: 6.2.1 Choose the highest and lowest nominal temperatures within the chamber's adjustable range as the test temperatures. 6.2.2 Allow the chamber to reach the selected temperature, stabilize for 2 hours, then measure the temperature at all test points every 2 minutes for a total of 5 readings. 6.3 Calculation and Evaluation of Results: 6.3.1 Correct the recorded temperatures using the instrument's calibration values. 6.3.2 Calculate the average temperature for each test point separately. 6.3.3 Calculate the percentage difference between the chamber wall temperature and the working space temperature. 7. Rising and Cooling Rate Test Method: 7.1 The test point is located at the geometric center of the working space. 7.2 Test Procedure: 7.2.1 Select the lowest and highest nominal temperatures within the chamber's range as the test temperatures. 7.2.2 Start the cooling process from room temperature to the lowest specified temperature, stabilize for 2 hours, then increase to the highest specified temperature and monitor the temperature change from 10% to 90% of the range. Stabilize again for 2 hours, then cool back down from 90% to 10% of the range. 7.2.3 Record the temperature every minute during heating or cooling phases to analyze the rate of temperature change.
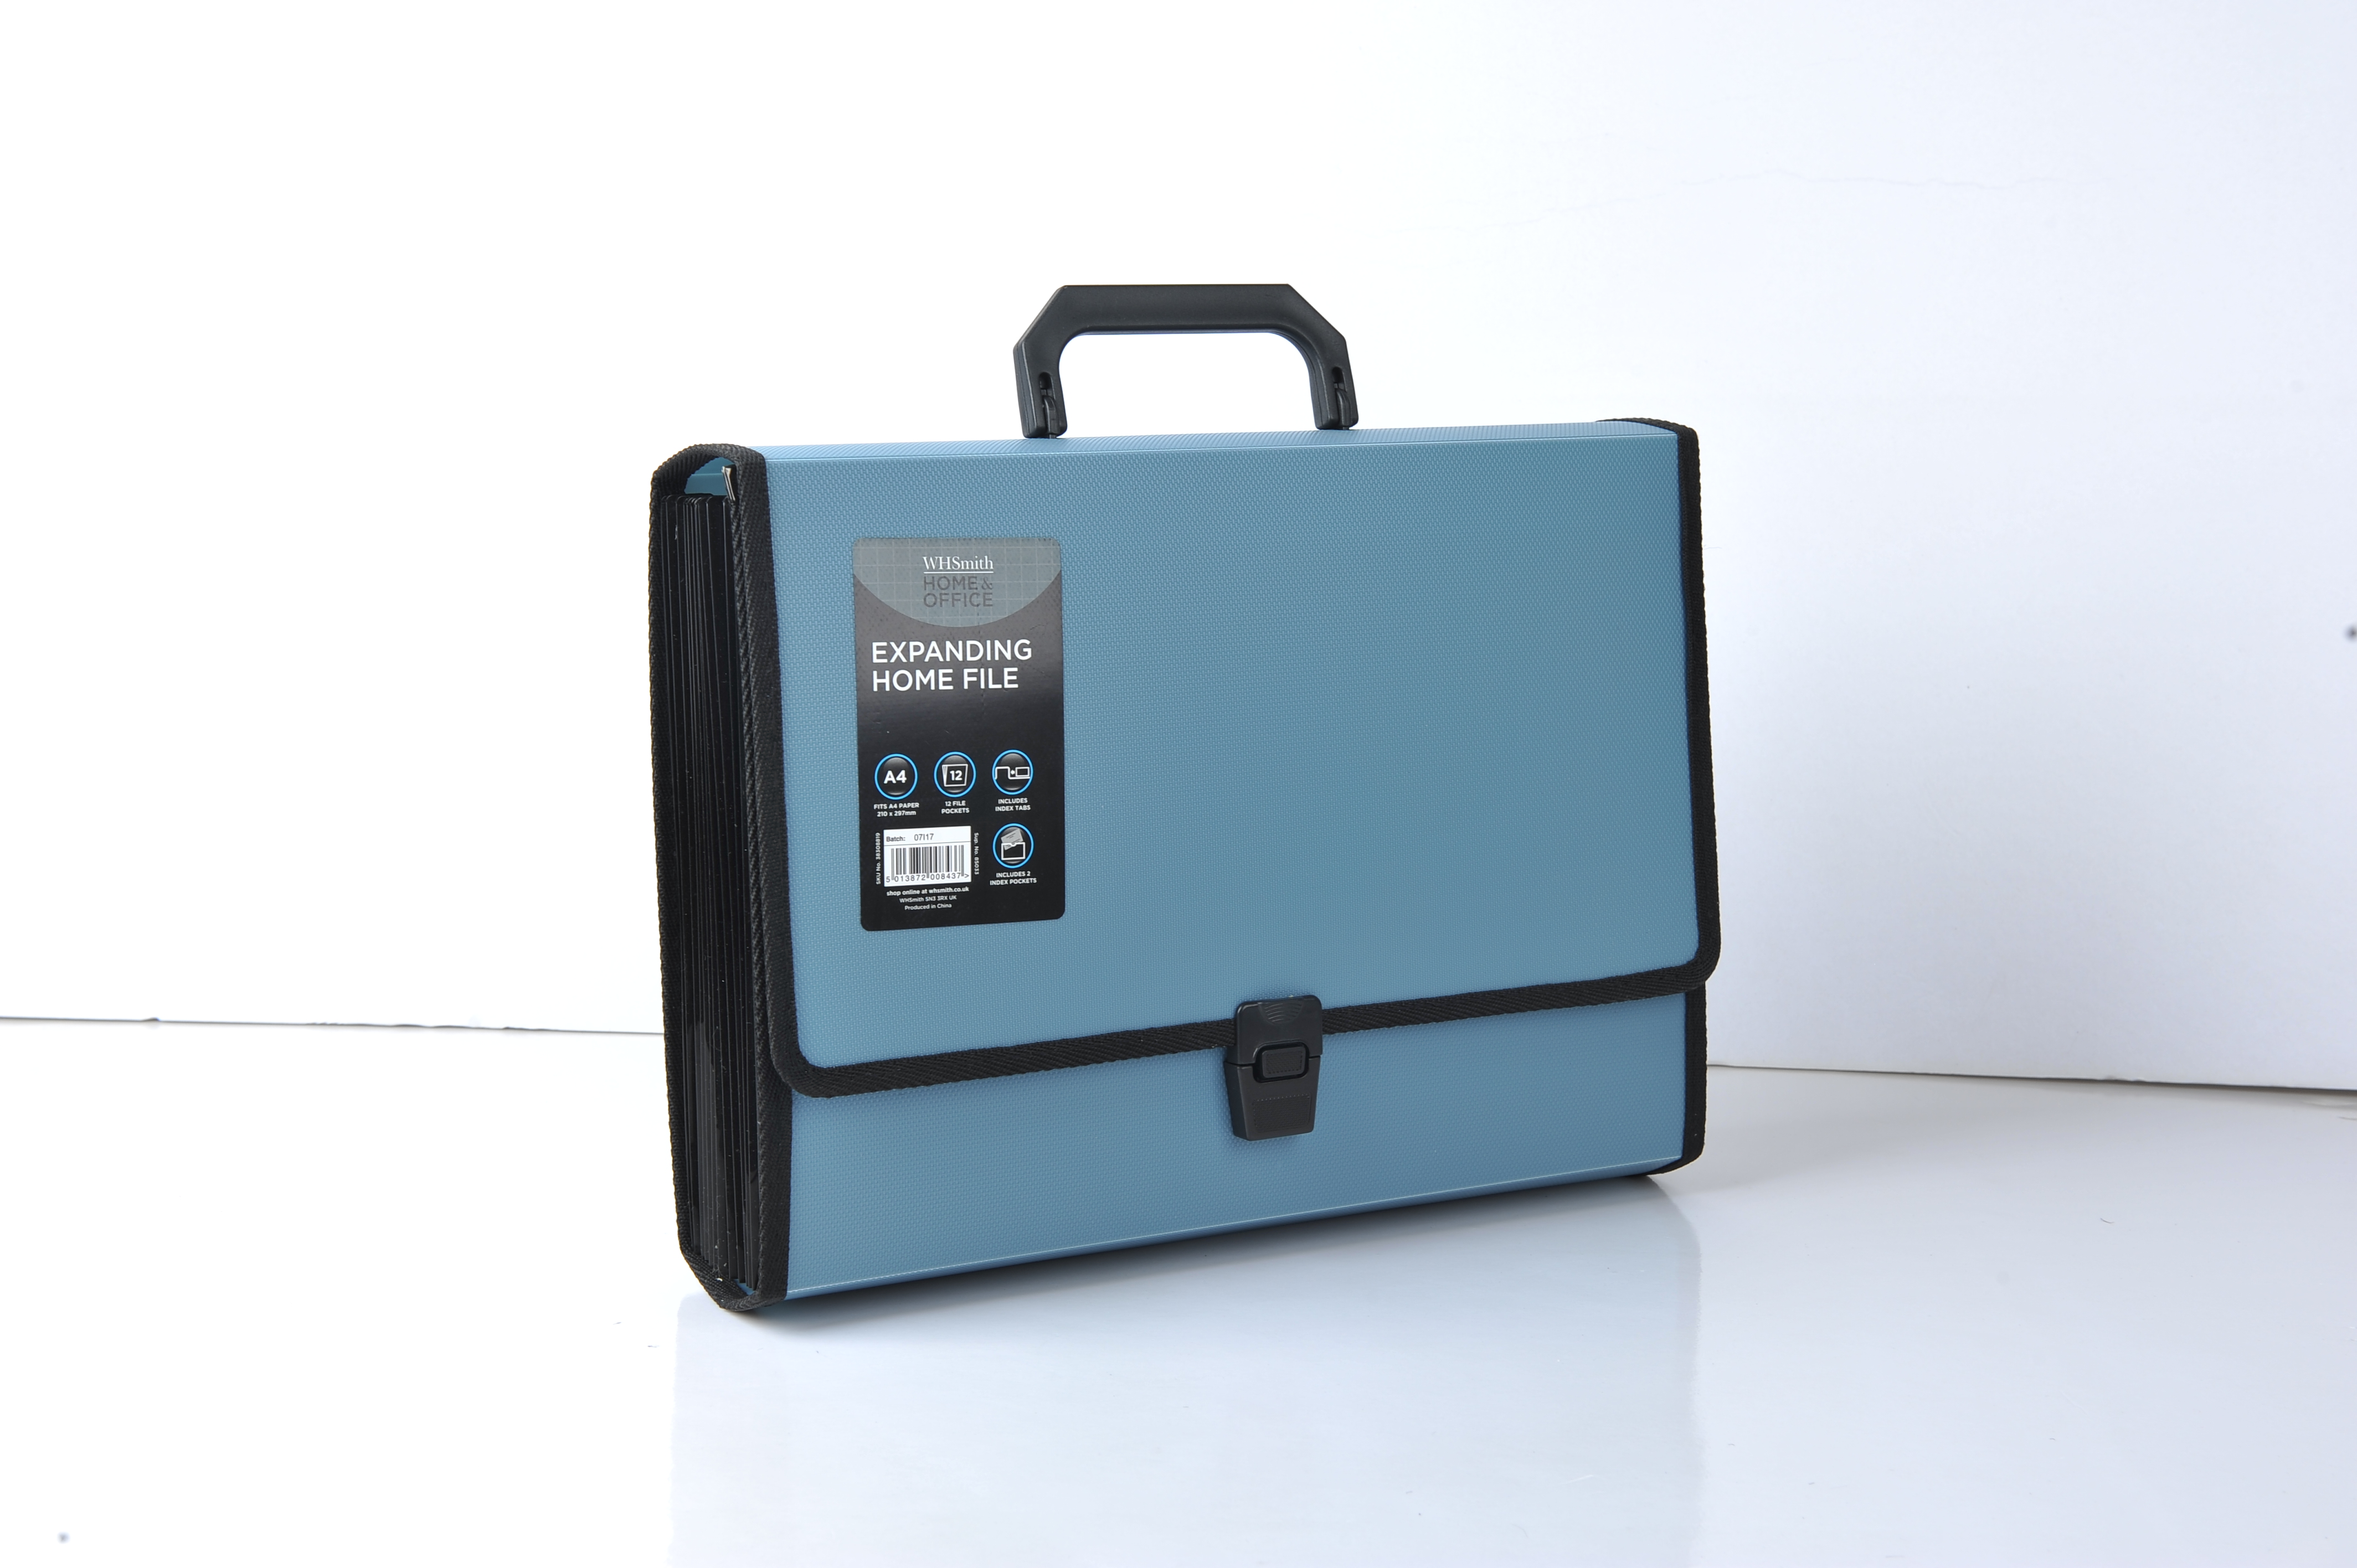
Folder is specially used to hold the whole page of documents, the main purpose is to better save files, make it neat and regular.Folders are tools for storing, protecting and managing paper documents.Materials include PP, PVC, cardboard;There are parts of imitation leather, cloth and so on.There are many kinds of folder categories: including single strong folder, double strong folder, information booklet, two inch folder, three inch folder, different specifications of double open folder, single folder (also known as l-type folder), multi-page folder.
Files And Folders,Filing Products,Folder Products,File Folder shaoxing chaofeng stationery manufacturing CO.,LTD. , https://www.chaofengstationery.com
